
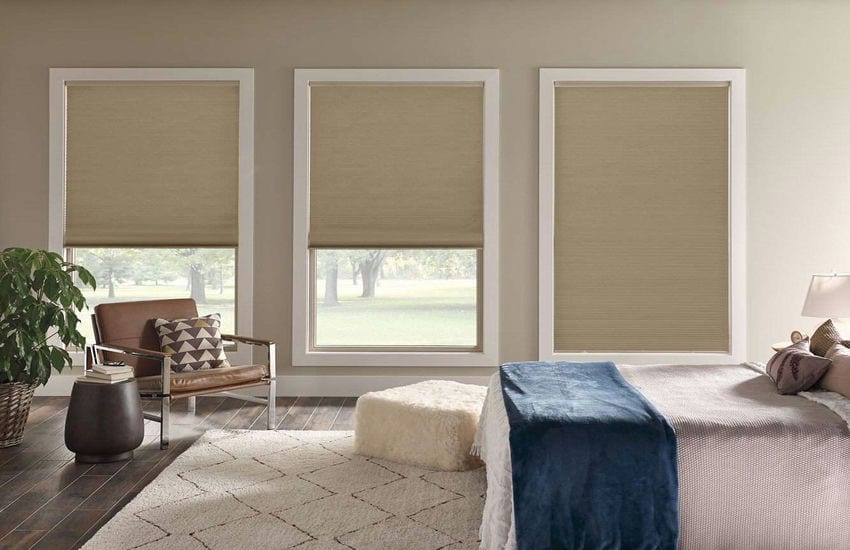
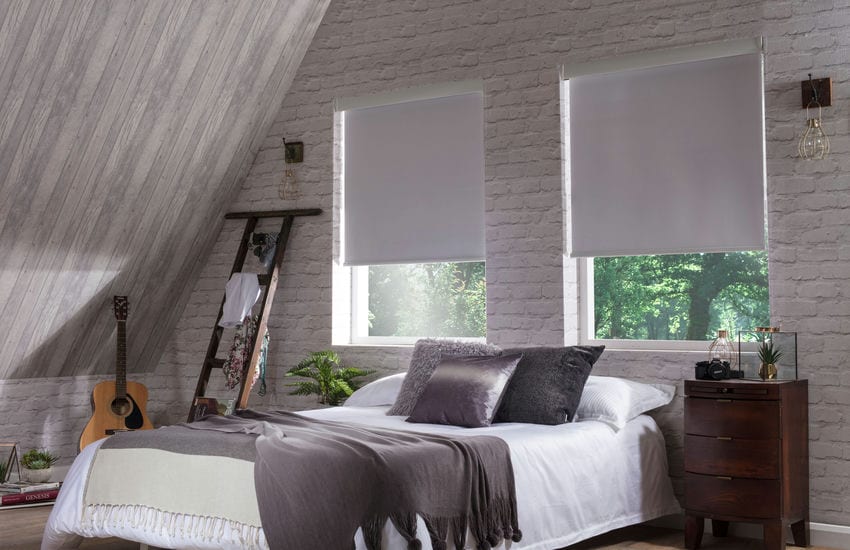
Installing blackout blinds is an easy and affordable way to darken a room. These light-blocking blinds darken bedrooms, home theaters, and nurseries. Create a professional-looking diy blackout blinds installation with a few basic tools and tips. This post will cover measuring, selecting materials, installation, and how blinds block light for a successful DIY blackout blind project.
Measuring for the Perfect Custom Fit
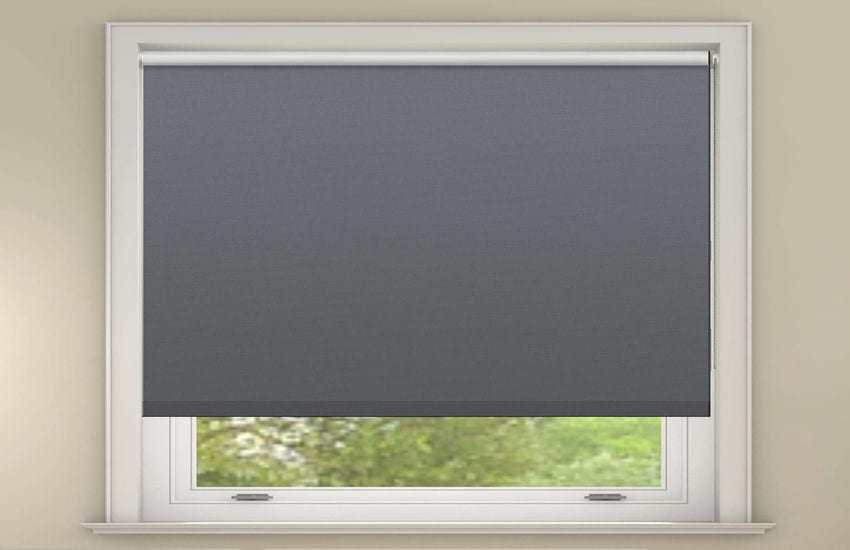
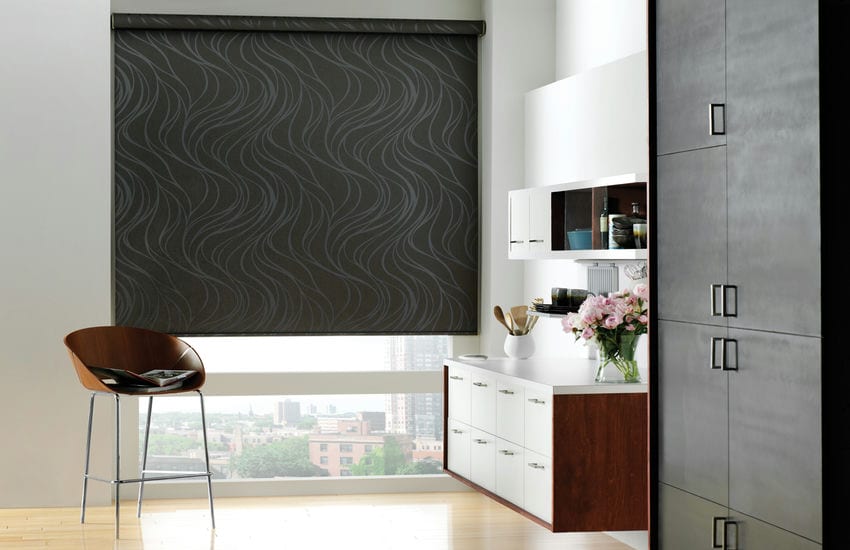
For a professional diy blackout blinds installation, it’s important to measure correctly. First, choose whether the blind will go inside or outside the window frame. For a smooth, finished look, an inside mount goes inside the window frame. An outside mount goes over the frame and is good for windows that aren’t the right size or that need more light blocking.
Measure the window frame’s inside edge to inside edge for an inside mount’s height and width. Think about whether the window has any features, like handles, that could make it hard to put the blinds. If you have exact measurements, your blinds or other blackout shades will fit perfectly and block out all light.
Choosing the Right Materials
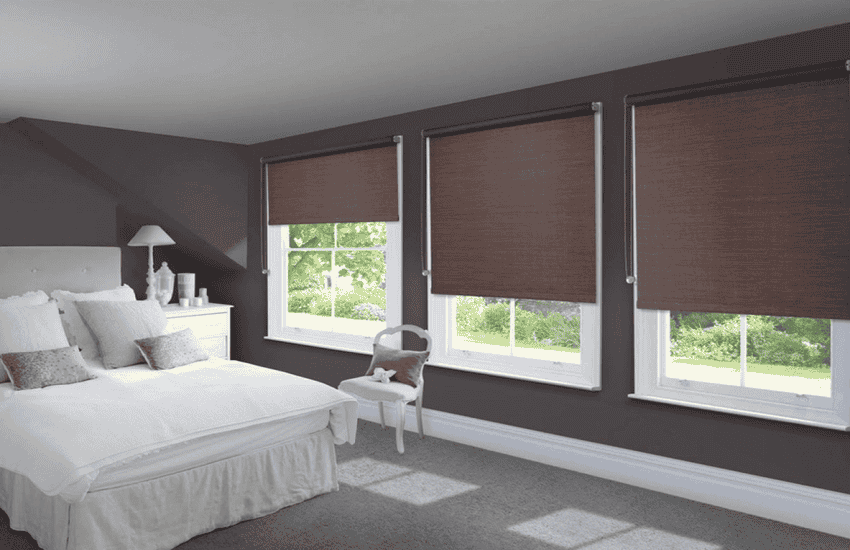
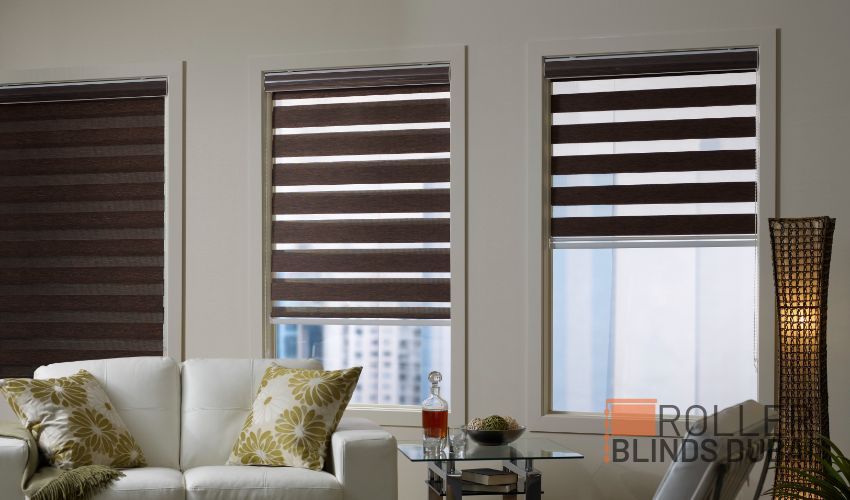
After taking measurements, the fabric for your custom blackout Roman blinds must be selected. To block the most light, pick a fabric that says “blackout” or “room darkening.” Multiple layers of vinyl, plastic, or foam are bound together in these fabrics to keep light out. These are some good choices:
- Blackout fabric – Very durable and designed specifically to prevent light from shining through. This extra-thick fabric with a vinyl backing offers the best light blockage.
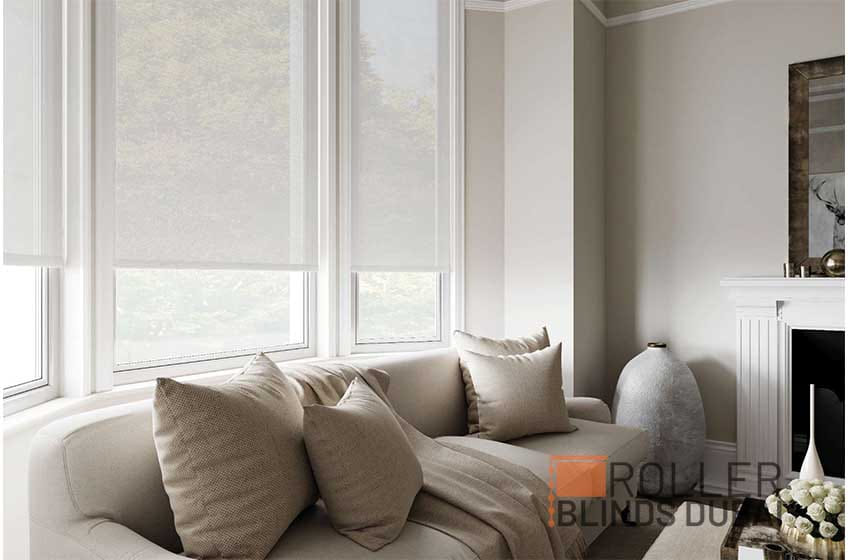
- Roman shade fabric – These shades have many layers of fabric that work well to block light. With their cloth folds or open panels, Roman shades add style to any room.
- Polyester blends – Polyester blended with vinyl or plastic creates an opaque light-blocking fabric that also insulates well.
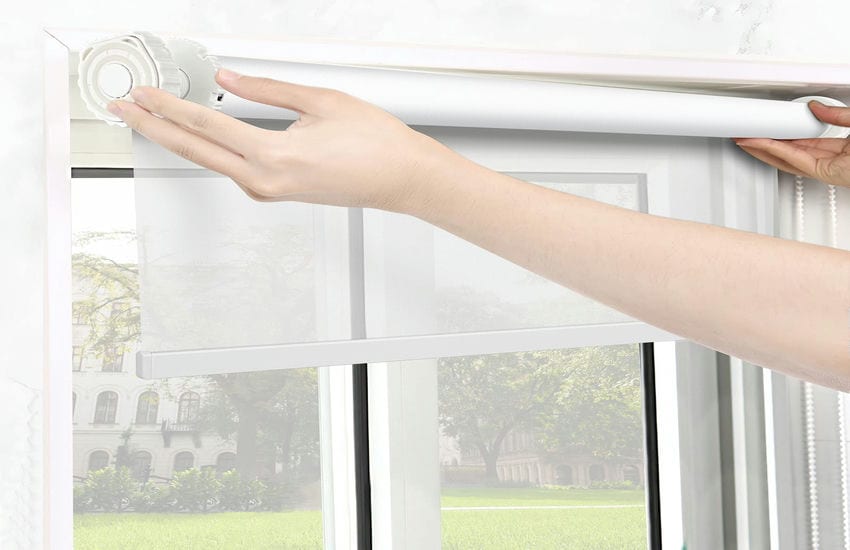
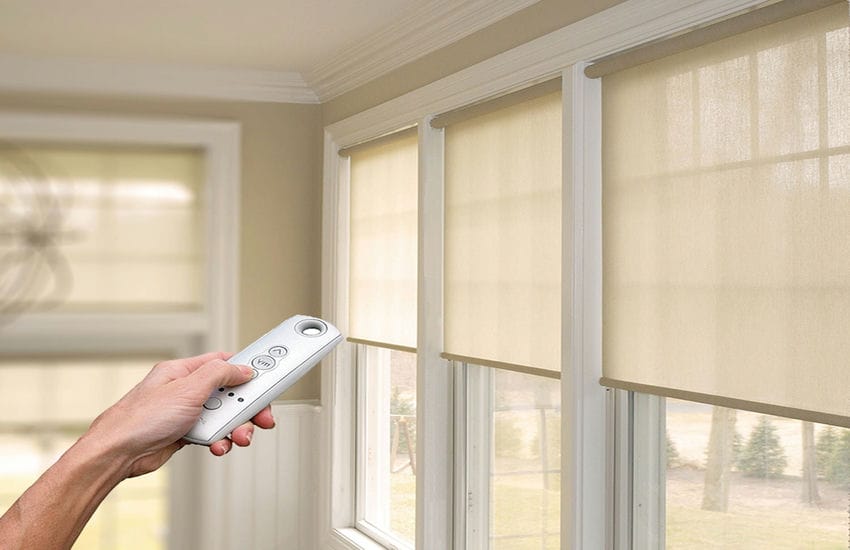
For the blind mechanism, you have several easy DIY options:
- Curtain rods with grommets – Simple and adjustable for custom sizes.
- Mini or cordless blinds – Offer variable light control.
- Vinyl shades or reusable static cling – Budget-friendly blackout options.
- Mounting boards with batting – Create a layered custom blackout blind.
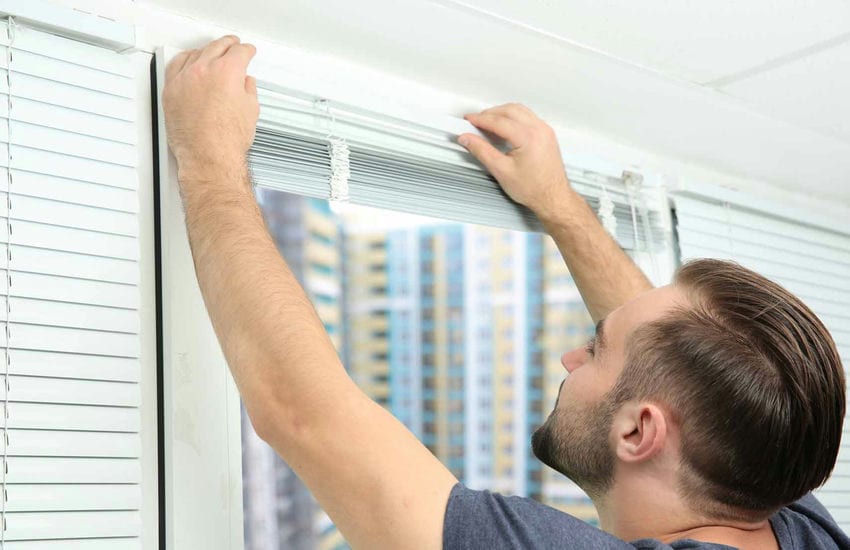
Installation Tips and Steps
Once you determine the perfect mount location, fabric, and mechanism, it’s time for installation. Here are some key tips for flawlessly DIY blackout blinds installation:
- Iron fabric to remove any creases for a seamless look.
- Check that you have proper overlap on all sides to prevent light gaps. Having a second set of hands is useful here.
- Make sure the backing of the fabric faces out toward the light source.
- Use wide-head screws or molly bolts for secure mounting in wall studs or drywall anchors.
- Attach any controls needed for raising or lowering shades. Test functionality.
- For grommet top shades, evenly space and secure grommets across the mounting board before hanging.
Operating and Maintaining DIY Blinds
Once installation is complete, keep your homemade blackout shades looking and functioning their best with simple maintenance. Ensure all hardware and cords are secure, as shifting can lead to light gaps. Clean lightly with a duster or vacuum attachment when needed to prevent dust buildup.
Wipe gently with a damp microfiber cloth for deeper cleaning. Check for fraying edges or damage regularly and use seam sealant on fabrics if needed. Avoid harsh cleaners, which can break down fabric backings and ruin blackout properties. With attention and care when operating blinds, your custom shades will optimally darken and upgrade any room for years of everyday use.
Extra Touches for Enhanced Blackout Effect
Looking to take your light blocking to the next level? Consider adding complementary touches paired with your tailored blackout shades. Install room-darkening ceiling fixtures that prevent upward light leakage. Hang matching blackout curtains atop shades for enhanced coverage. For a complete dark-out effect, apply removable blackout film on the window glass before lowering the shades.
Adding weatherstripping to your window frames also blocks stray light around an outside mount blind. With these optional extras, you can build on the light-stopping power of your custom shades. Upgrade any space to be completely devoid of light pollution for impeccable sleep and relaxation. Achieve a bat-cave level of darkness for that cinema viewing room effect right in your own home.
Troubleshooting Common Issues
Even if measurements and planning are perfect, small issues can still arise. Here are some common installation problems and quick fixes:
- Light gaps on sides – Use removable strips or swept sides for complete overlap and coverage.
- Uneven hanging – Adjust screws so mounting boards are perfectly level and blackout blinds hang evenly.
- Movement or swaying – Secure sides and bottom with touch fasteners to keep shades firmly positioned.
- Curling edges – Weight or hem edges to keep them straight and flat.
With some helpful preparation and the right materials, DIY blackout blinds installation is an easy weekend upgrade. Properly fitted light-blocking shades instantly transform rooms by allowing control over lighting and privacy. Experiment with different fabrics and placements until you achieve your ideal darkened oasis.
Conclusion
Creating your own customized blackout window shades allows you to control light and ambiance in your space inexpensively. With accurate measurements, the right durable opaque fabrics, and secure installation, you can master DIY blackout blinds for flawless light blockage.
Use these tips and tricks to install expert blackout blinds that look professionally made. Soon, you’ll have a darkened sleep sanctuary or cinema viewing room fit for Hollywood, all with your own customized touch.

