

If you are considering installing duplex blinds all by yourself to elevate your windows but don’t know how to do it. Don’t worry; this specific topic is for you and anyone willing to install window blinds but don’t know how to do it. Let’s get started.
Step-by-Step DIY Guide to Install Duplex Blinds
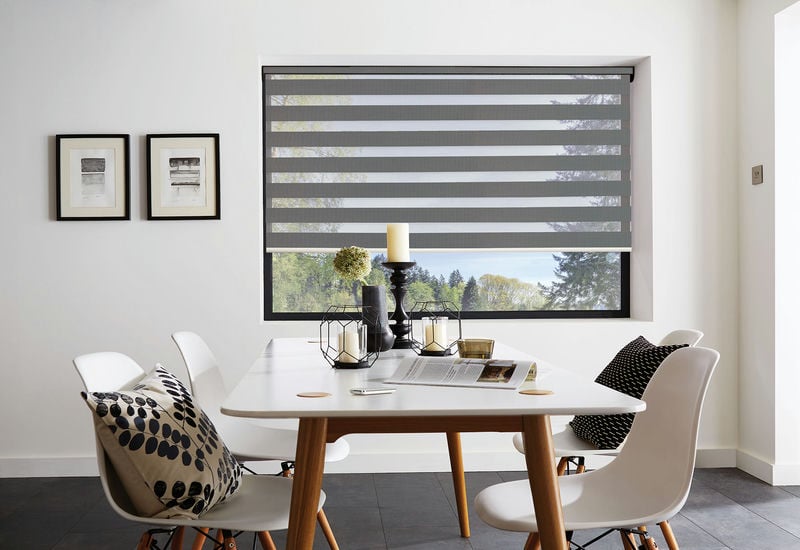
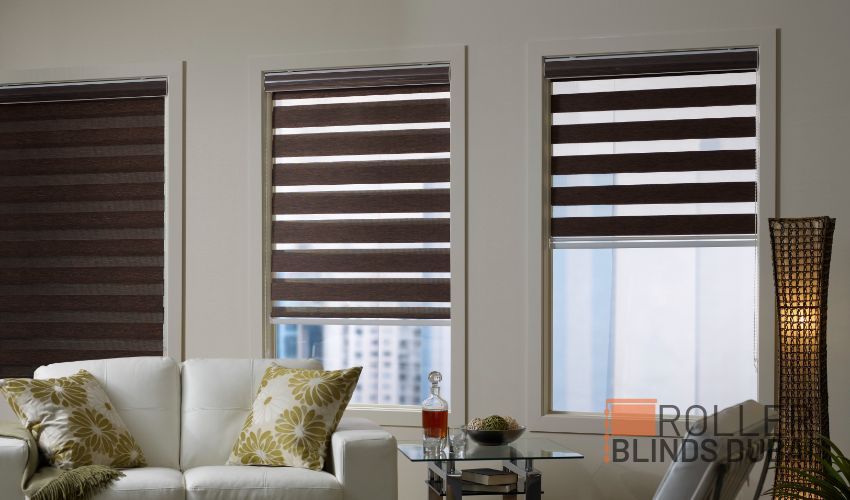
Choose the Right Duplex Blinds

Before installing duplex blinds to improve your windows look, choose the right design, style, and color of blinds to match your room’s color and design. Suppose you don’t consider choosing the right design, color, or style of the blinds. In that case, no matter how beautiful or expensive they are, they’ll not complement your room’s decor, resulting in a total waste of time, energy, and investment. So, it’s always best to choose the design and color of your blind according to your space.
Gather Material
After you have decided on the design and color of your blind, gather the material you need to install the blinds correctly by yourself. Following are some of the most important tools that you need to install duplex blinds:
- Drill machine
- Ladder
- Scissors
- Screws
- Measuring tape
- Saw
- Pencil
- Window Blinds
Measure the Windows

Choose the place where you want to install duplex blinds. While installing duplex blinds, measure the window’s width and length properly with a measuring tape to avoid further conflicts. Note every inch of width and length of your window so that the installation goes smoothly and your blinds perfectly fit the exact spot they suit the most.
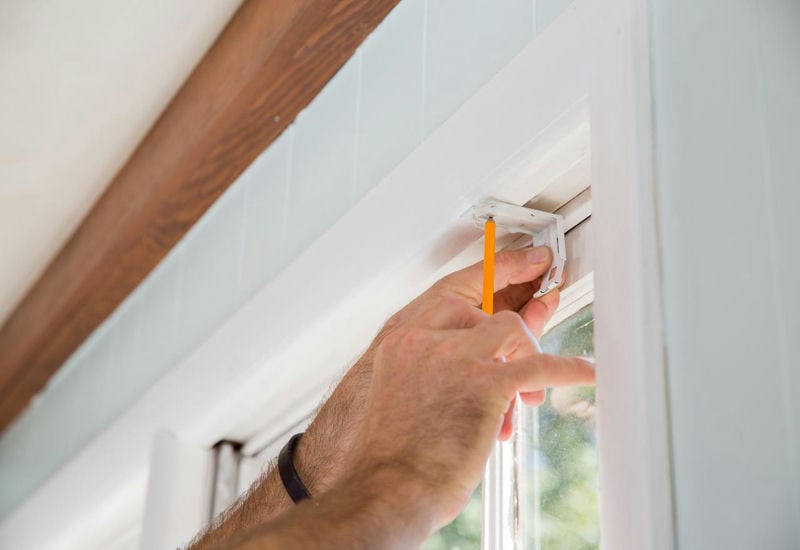
Installation Marks
Now, you need to mark the spots for drilling with a pencil so that you can correctly install the brackets where they suit. If your window is high and you are unable to reach to mark the drilling spots, you can use a ladder to facilitate yourself and avoid any error while marking. Make sure you mark perfectly where you will install brackets for window blind installation. The first bracket on either side should be placed close to the blind so that brackets don’t disturb the control system.
Bracket Installation
After you finish marking the drilling spots, install brackets carefully. There are two types of brackets that you can install for your windows:
- Top Fix brackets are installed into the ceiling/lintel and placed directly above the blind.
- Face Fix brackets can be installed onto the wall or on the window frame that is placed on the backside of the blind.
Now, hold the brackets exactly where you marked points with a pencil. Use the drill to make holes for screws so that brackets can securely stay in their place.
Attach the Blinds
After you have installed the brackets, it’s time to attach the blinds. To attach the blinds, first, set the hinged doors on the bracket. Place the blinds in their space, then close the doors. You can control the blinds with the help of a cord.
Insert Valance
A balance can be placed before or after installing the blinds. To insert the valance, use its plastic clips to the headrail. To fix the valance into its place so that it can stay there, push the valance into the plastic clips. Valance is for the security of blinds so that blinds don’t touch the floor.
Test the Blinds
If you want to ensure the blinds are attached firmly, gently pull your blinds. You can adjust your blinds to get the desired light passage in your room or any other space.
Conclusion
Installing a duplex blind all by yourself is challenging, but it’s not impossible. You need some important instruments and products to install the blinds correctly and avoid any issues. You need to perform every step and measurement carefully to do it properly without any major issues. After installing the blinds, you can check them by gently pulling them to ensure they work properly. Don’t forget to read the user manual before installing the duplex blinds on your window.


